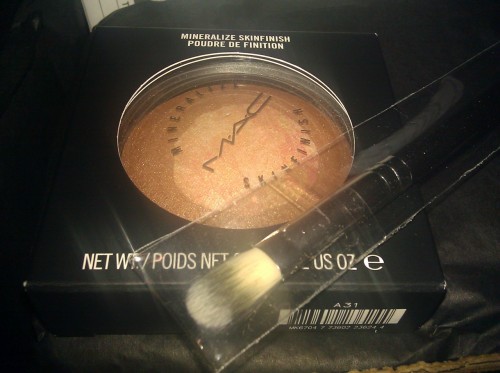
Mac Goldstone MSF and 234 Brush

Wearing my new YSl Rouge Voupte Lipstick in #2 Sensual Silk. Someone asked for a picture of me wearing it. It’s like the perfect nude on me, you can barely notice it. Working on the review and more swatches of it soon. Now I’m off to Starbucks.
BTW, Don't you just love my glasses?! Ugh, they're to die. So in love with them.


Hi, dolls! I'm back with the second installment of my Pink Friday look. I've gotten a lot of compliments on my hair when I do this style and many questions as to how I do it. They're called Bantu Knots and they're pretty simple to do. It works on every hair type and all ethnicities too! (Yes, Amanda. White girls can do it too!) I love Bantu Knots, they're a great no-heat way to get a big head of curls. And we all know I love big hair. I usually do mine after washing my hair for a tighter curl, but it works just as well on dry hair too. All you need are Bobby Pins and maybe a light leave-in conditioner.
Here we go!
Step 1: Grab a portion of your hair, it doesn't have to be neat or parted. I usually grab a section about as wide as 3 fingers. The smaller the section, tighter the curl. I sprayed a little bit of TIGI Bed Head Spoil Me Defrizzer, Smoother & Instant Restyler for a little bit of product, you'll see the particles on my hair in a bit.
Once you've got your section of hair, start twisting it. Just a simple twist a 3/4ths of the way down.
 Step 2: Coil the hair around itself at the root of the twist. It may be a little hard to get at first, but you'll get the hang of it. Just continue to wrap the twist around into a little knot.
 Step 3: Twist the rest of the section down and wrap it around the knot. It should be tight enough to tuck into the bottom of the knot, but I like to secure it with a Bobby Pin. Just stick it right through the middle of the knot. I usually do 8 to 9 knots all over my head, 4 or 5 if I want more waves than curls.
Now you wait. I usually wash my hair at night, knot it and half way through the next day it should be dry. If you want to speed up the process sit under the hair dryer or use a blow dryer. It is still loads better for your hair than a curling iron.
If you're doing your Knots on dry hair, I still recommend letting them stay over night and spraying them with a little leave-in conditioner to really help the Knot set.
The Next Day
It is time to uncoil your knots! Take out your Bobby Pins and unravel your Knot. It should fall out of the coil into a bouncy spiral curl. Your knots should look like the ones below.


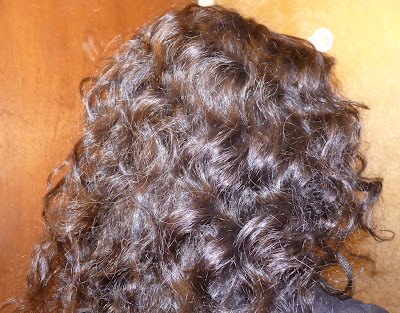
 Now you can use a paddle brush to wave these curls out, but I want to keep my big curls intact. I just finger comb them and fluff them up and voila! Sexy big hair!


I slapped some makeup on my face and added a little Paul Mitchell Foaming Pomade on my hair for control and shine and here is my finished look.
Hope you enjoy! Let me know if you try this and how it came out for you!